Apple Butter
Recipe for homemade apple butter. A family favorite and a sweet treat good for any time of the day.
By Pamela Rose Williams
Did someone say homemade apple butter? One of our family favorite sweet treats with breakfast, or anytime is some apple butter on toast or a muffin. We especially like it when I cook down some fresh apples and can some at harvest time. I love the smell of the apples, cinnamon and cloves as they cook down. The whole house smells like autumn — my favorite time of the year! Here is the recipe that I have found works best and is loved by all.
Ingredients: (makes about 12 half-pint jars)
-
- 8 pounds apples (I like using a mixture of granny smith and fuji or gala)
- 4 cups water
- 8 cups sugar (most likely much less!)
- 4 teaspoons ground cinnamon
- 1/2 teaspoon ground cloves
- 2 tablespoons of lemon juice
Other things you will need:
-
-
- A water bath canner and supplies
- 12 eight ounce jelly jars with rings and seals
- A large pot for cooking down the apples (or a roaster like I use)
- Canning Jar Lifter Tongs to lift the hot jars after processing
- A food mill/veggie fruit strainer
- A canning funnel
-
What is really great about apple butter is that you can cook the entire apple down without having to peal the apples or even core them. There are nutrients in the seeds and skins of the apples that are lost when you cut them out and put them in the trash. So I cook the entire apple.
Cook the apples:
-
-
- Wash the apples
- Cut the apples into quarters and put them into your pot with the 4 cups of water. (hint: I use my electric Oster Roaster Oven with Self-Basting Lid for this rather than a pot on the stove).
- Cook the apples down until they are soft, stirring occasionally.
-
Those apples will take several hour to cook down so while you are waiting:
- Clean the jars and lids.
- Put the jars in your canner fill it with water and get the water boiling. You want hot jars in which to pour your hot apple butter when ready to process.
- Start a 2 quart pan of water boiling too — you will use this to top off your canner water when ready — this is your water reserve. You can go ahead and put your seals in here so they are hot.
Continue cooking your apple butter:
- When your apples are soft, run the apples through the food mill or food strainer and reserve the pulp (puree). I use my upright KitchenAid mixer with the KitchenAid KSMFVSP Fruit and Vegetable Attachment Strainer
- HINT: At this point what you have is unsweetened applesauce. You can process this in the jars just as it is and you will love it. To make this into apple butter continue to the steps below. Adding sugar and additional spices will allow your puree to gel and become spreadable apple butter.
- Put your pulp back in the pan or roaster and add the cinnamon, cloves, lemon juice and some of the sugar. (CAUTION: Do not add all of the sugar at once. Start with less sugar [4 cups] and add it to taste).
- Cook the apple mixture until it is thick enough to stay in a little mound on a spoon. If the mixture becomes too thick, add a little bit of water. Be sure to stir your puree as it cooks because the sugar will cause it to stick to the sides of the pan/roaster.
- Taste your apple butter … add more sugar or spices to your taste.
Can your apple butter:
-
-
- Ladle the hot apple butter into your hot jelly jars, leaving 1/4 inch headspace. Use a knife and slide it down the sides of the jars on the inside to remove air bubbles. Wipe the jar rim and place a clean, dry seal on the jar. Hand tighten a ring around the jar. Place the filled jars in the boiling water canner and add more water from your water reserve so that the jars are covered with enough water if needed (should be covered by 1 inch of water).
- Bring the water to a boil and process the apple butter jars for 10 minutes. Turn off the heat and take the cover off. Let jars cool for 5 minutes and then remove the jars to a cooling rack that is not in the direct line of a draft. Let jars cool for at least 12 hours. Check the seals — they should not move up or down. Label your jars and store them in a cool dry place. Don’t be surprised as you hear the lids popping as the jars cool – this should be music to your ears, it means they have been vacuum sealed by your canning process, it is absolutely normal.
-
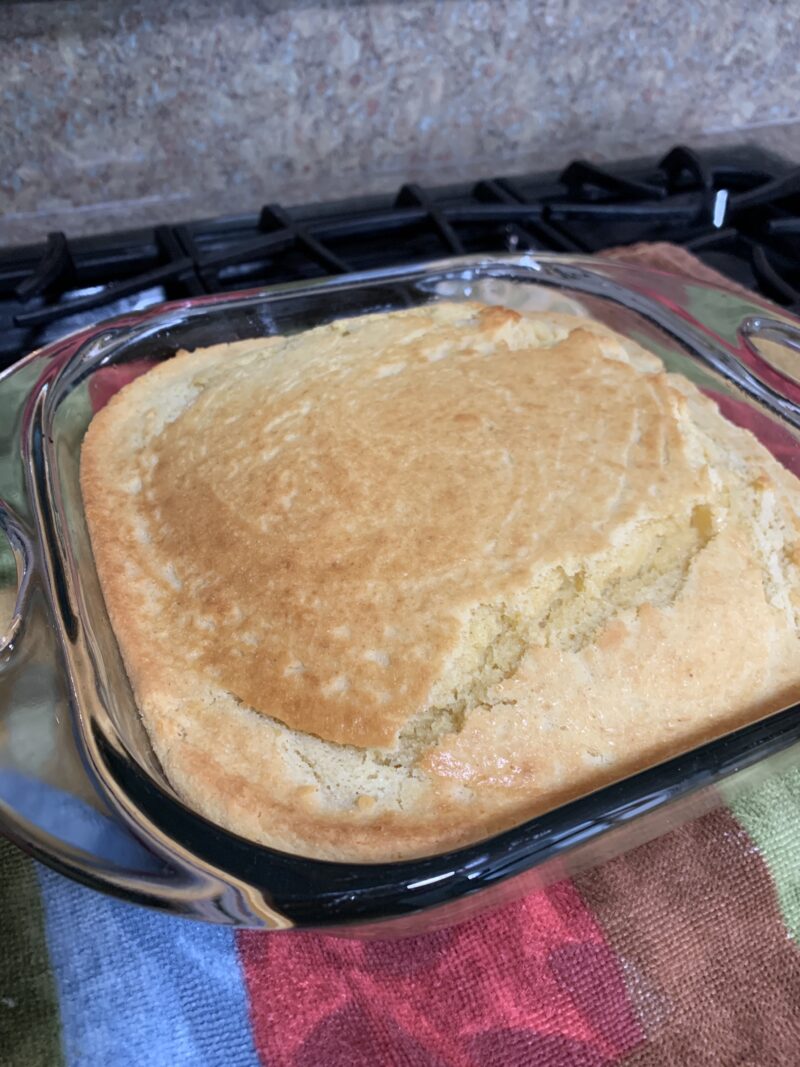
Serve with your favorite bread, biscuits, rolls or muffins. Here is my recipe for 6 Grain Bread/Rolls
Author